How to Assemble Your Phantom 85 Engine Like a Pro (Without Losing Your Sanity)
Sep 3rd 2025
")
Installing a motorized bike engine can feel overwhelming, especially if it’s your first time. But once you’ve got a Phantom 85 engine in front of you, you’re already halfway there. Let’s walk through exactly how to assemble it—step by step—with tips that’ll save you frustration and keep your build solid for miles to come.
What You’ll Need for Your Phantom 85 Engine Assembly
Before you start wrenching, make sure you have all the parts laid out and accounted for. Missing one small piece can throw your whole build off.
Phantom 85 Engine Parts Checklist:
- 1-Piece Cylinder/Head
- Piston
- Piston Rings
- Needle Bearing
- Wrist Pin
- G-Clips (Wrist Pin Clips)
- Base Gasket
- 20:1 Gas/Oil Mix for Break-In (6.4 oz per gallon)
- 25:1 Gas/Oil Mix for After Break-In (5.1 oz per gallon)

Step 1: Install the Piston Rings Correctly
Make sure the piston rings are positioned with the gaps lined up on the notches in the piston. Those small notches keep the rings from spinning out of position and causing damage. Make sure you don’t install them upside down.
- Lubricate the rings lightly with 2-stroke oil.
- Double-check if the rings came pre-installed—many Phantom 85 kits do.
Pro Tip: Never install dry rings. A little 2-stroke oil now saves you from scoring the cylinder later.
Step 2: Fit the Wrist Pin and Needle Bearing
Take your time here:
- Slide the needle bearing into the connecting rod with a touch of oil.
- Insert the wrist pin through the piston and into the bearing.
- Secure both sides with G-clips (wrist pin clips).
Warning: Those clips love to fly. Stuff a rag or paper towel into the bottom end to catch any stray parts before they drop into the engine.

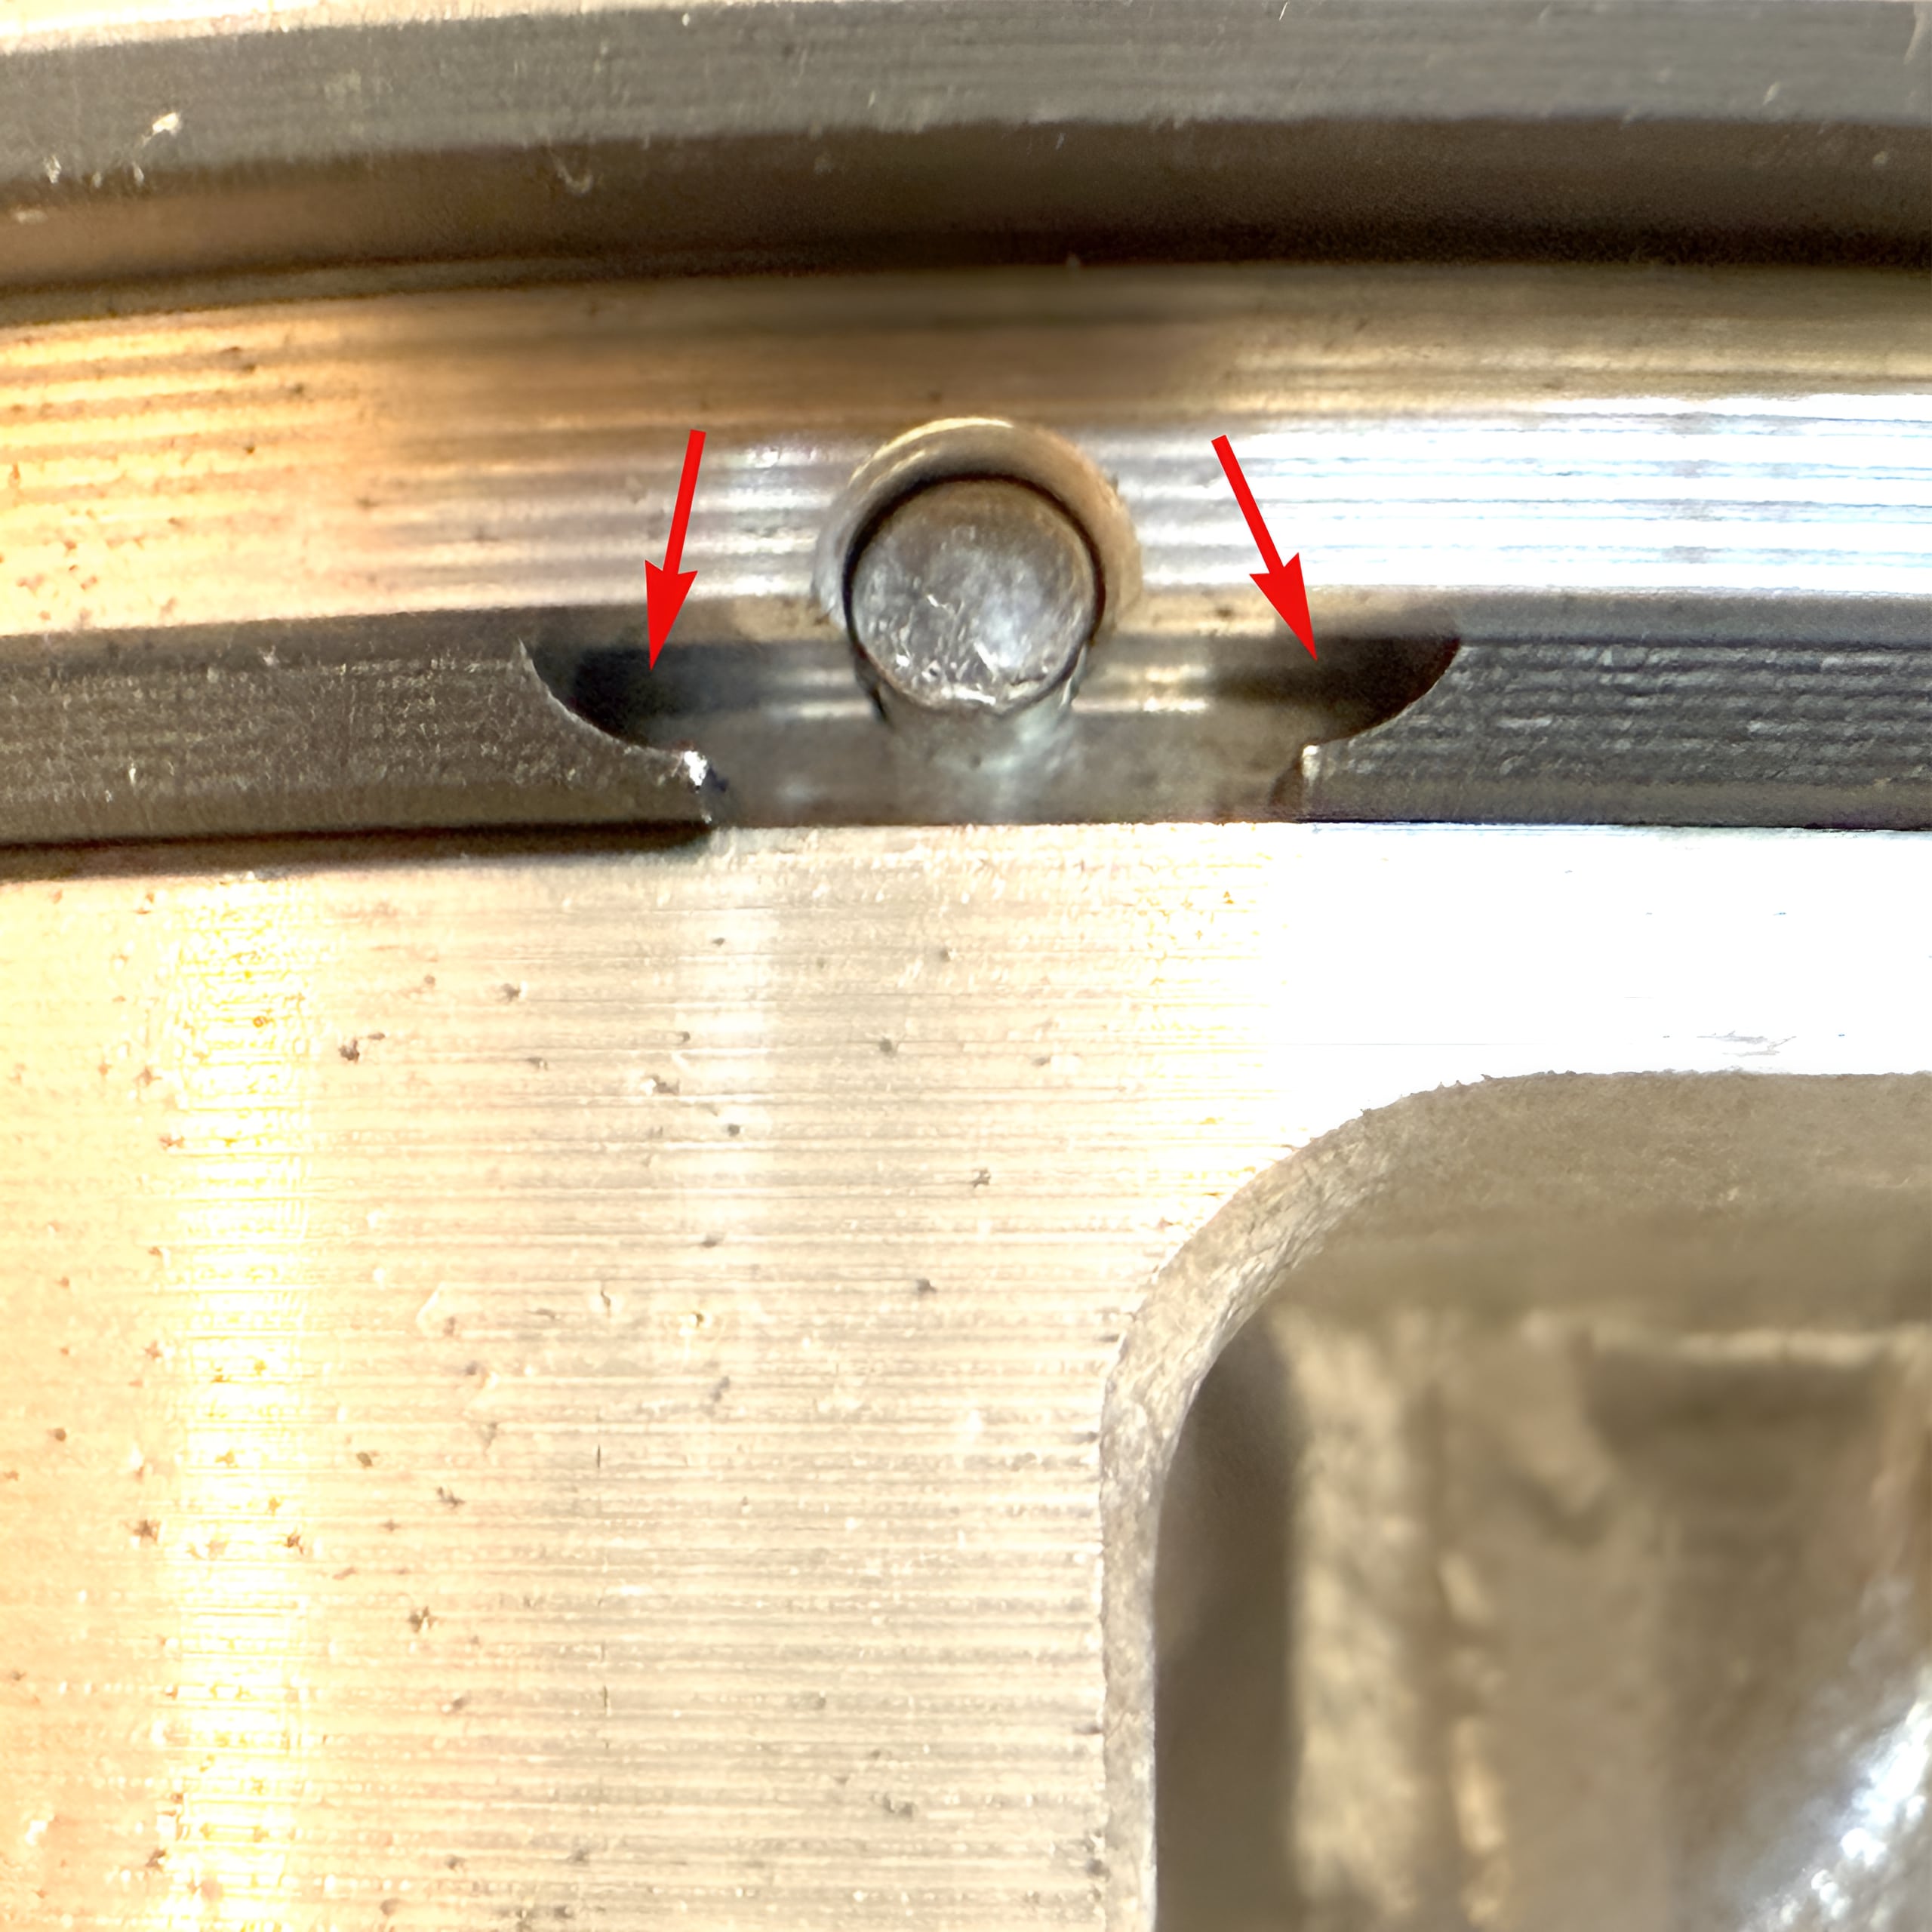
Step 3: Install the Piston and Cylinder
Here’s where alignment matters:
- The arrow on the piston crown should face the exhaust port.
- The holes or windows in the piston should face the reed valve (intake side).
- Make sure the base gasket is in place before sliding on the cylinder.
Slide the cylinder down carefully:
- Compress the rings evenly.
- Press gently and slowly—use a small flathead screwdriver if needed but avoid scratching the cylinder walls.
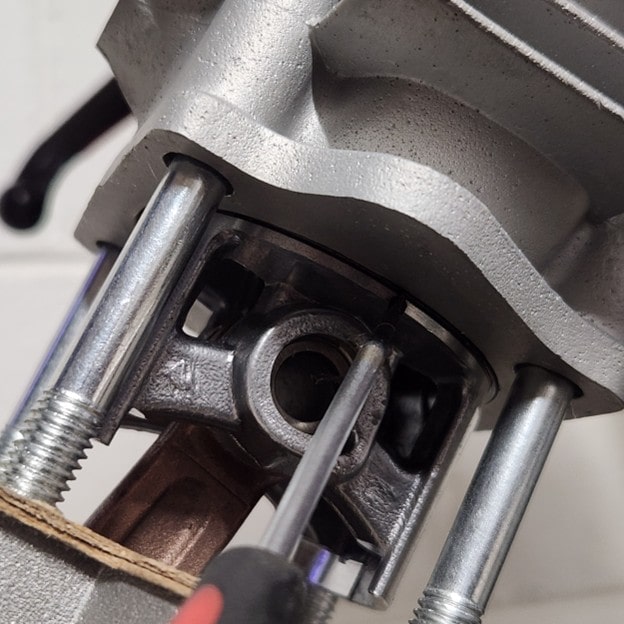
Step 4: Torque the Cylinder Head Bolts
Use a torque wrench to secure the head bolts in a crisscross pattern.
- Torque Spec: 12 ft-lbs
- Don’t overtighten—too much torque can crack parts or warp the cylinder.
Pro Tip: After the first couple of rides, recheck the bolts once the engine has fully cooled. Vibration can loosen them up.
Step 5: Check for Compression
Spin the rear wheel or roll the bike forward:
- You should feel firm resistance.
- If the wheel spins too easily, go back and check everything again.
No compression = No fire-up.
Break-In Tips: Make That First Ride Count
The first few rides set the tone for your engine’s life.
- Use 20:1 gas/oil mix for the break-in period.
- Keep throttle under 50% for the first few tanks.
- Let the engine heat up, then cool down completely—this heat cycling process helps seat everything properly.
Reminder: Once break-in is complete, switch to a 25:1 mix.
Final Thoughts: You’ve Got This
Building a Phantom 85-powered bike is a solid project that rewards patience. Focus on doing things right the first time, and you’ll avoid headaches down the road.
Whenever you need parts, kits, or more how-tos, just head over to Bicycle-Engines.com. We’ve got your back—one piston at a time.